2.
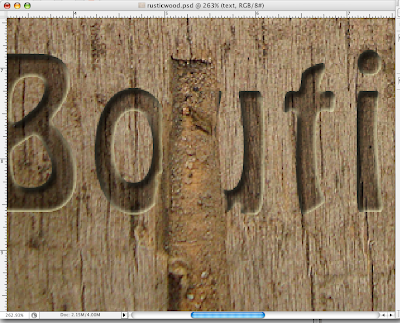
Use the Type tool to create a layer with the text that you will engrave
into the wood. Make sure the text is large and sans serif, and looks
like the kind of font that would actually be engraved into wood. I used
Hobo at 150, with a leading of 200 and a tracking of 75. You can set
all of these within the Character pallet. Next, Rasterize the type layer by choosing Layers, Rasterize, Type from the menu.
3. Command/Control click on the text layer's thumbnail to select the text. Then, click on the eye icon to hide that layer, slect the background layer and hit Command/Control J. Now, hide the Background layer. You should have the outline of your text, filled with the wood grain, on its own layer. Rename this layer "text", unhide the Background, and trash the original Type layer. Now, with the text layer selected, Option/Alt click the New Adjustment layer button and choose Brightness/Contrast. Make sure to check the box "use previous layer to create clipping mask", and decrease the Brightness to about -70 and increase the Contrast to about 50.
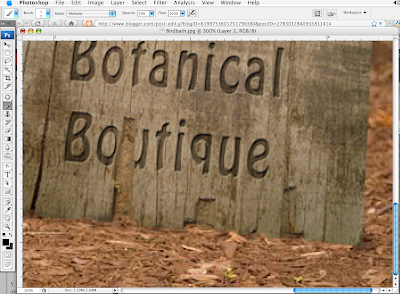
5. Flatten your artwork in the Layers pallet, select all, then copy and paste into your iLab birdbath image. Use the transform tool to adjust the size of your sign in the image, so that it seems to rest up against the birdbath. Zoom in very close and use the Eraser tool and the Paintbrush tool to make the sign look as it sits convincingly in the mulch, just as you did when you moved the bowl in this iLab.
6. With the sign layer selected, choose Filter, Render, Lighting Effect from the menu. Use Light Type Omni, reduce the Intesity to about 30, and in the preview thumbnail, move the light so that it mimmicks the sunlight in the rest of the image. Add shadows with the Paintbrush tool and use the Eraser tool to rough up the edges of the sign to look like old wood.


