Watermarking With Photoshop
- Open the image to which you would like to add a watermark, and make sure the Layers pallet is open. Select the Type tool from the Tool pallet and click in the center of your image. You will see a flashing curser appear. Change your font and size in the Options panel along the top of your screen. I used Impact, 70 pt. Make sure the default colors are displayed at the bottom of the tools pallet, and switch the Foreground Color to white by clicking the curved arrow above the colors. Begin typing your name on your image. When finished, select the Move tool from the tool pallet and adjust your type so that it fits in the center of the image.
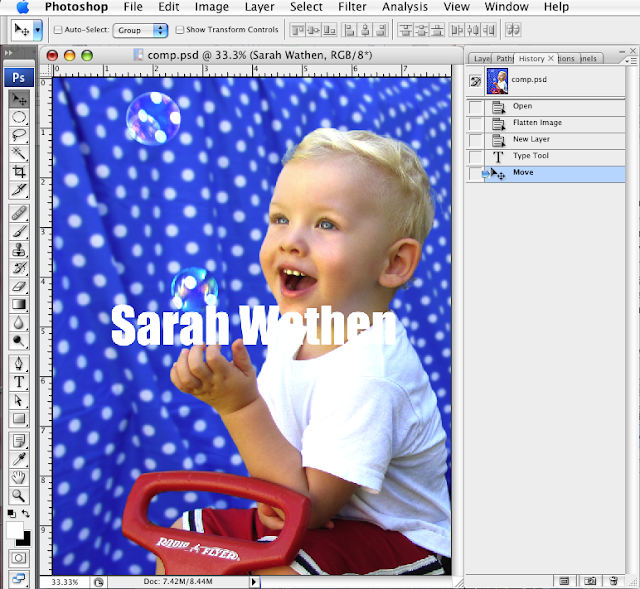
- In the Layers panel, make sure your text layer is selected and click the Layer Style button at the bottom of the panel (looks like “fx”), and choose Drop Shadow from the drop-down menu. Set the blending mode to Screen, instead of Multiply and click in the black box next to that to change the color to white. Set the Opacity to 90, the Distance to 0, the Spread to 10 and the Size to 15. If the Preview box is checked, you can see the changes you are making in your image window.
- With the Layer Style pallet still open, check Bevel and Emboss from the column on the left, and select that effect by clicking on it. The Style should be Inner Bevel, the Technique is Chisel Hard, the Depth is 50, the Size is 2. Change the Highlight Mode to 80 and the Shadow Mode to 30.
- Lastly, in the Layer Style pallet, select Blending Options at the top of the column on the left, and change the Advanced Blending fill opacity to 0. Hit OK. Voila, your image is watermarked! Alternatively, you can use a logo for your watermark, and you may lower the opacity of the layer to make the effect less severe, if you wish. Later in the session, I’ll show you how to record all of these steps in an Action, so that you can add watermarks to batches of hundreds of images with the click of a button!


